
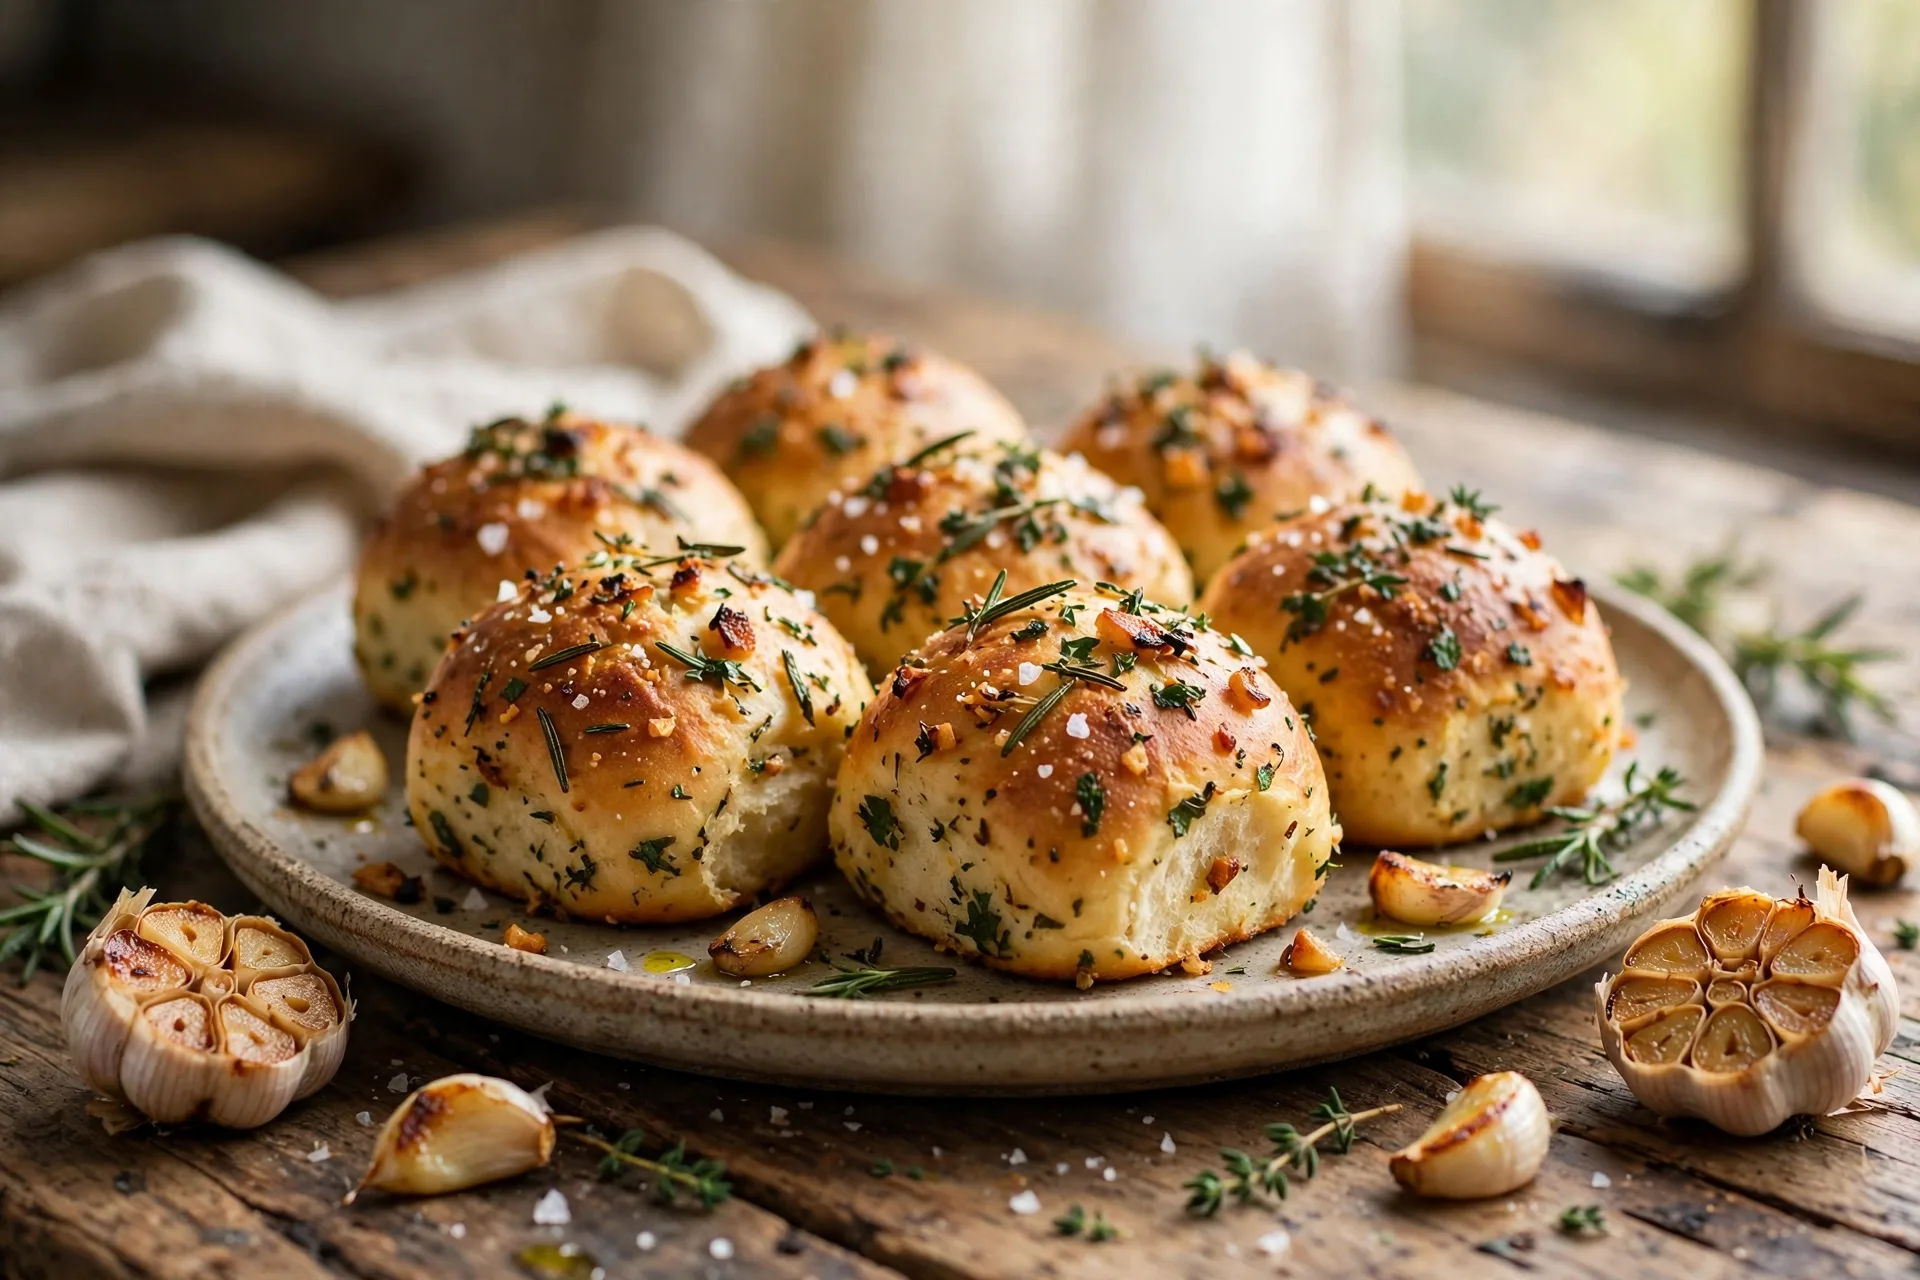
There is nothing quite like the smell of fresh dinner rolls baking in the oven, especially when they are filled with roasted garlic and fresh herbs. These roasted garlic and herb dinner rolls are soft, fluffy, and golden, with a tender crumb, a lightly crisp top, and a warm, savory flavor that makes them impossible to resist. They are the kind of bread that people reach for before the main course is even served, and they have a way of making any meal feel a little more special.
Roasted garlic is the key to these rolls. When garlic roasts in the oven, it becomes soft, sweet, and mellow, losing all of its sharp bite and developing a deep, caramelized flavor. Mashed into the dough and brushed on top with butter, it gives every bite a gentle garlic warmth without overpowering the bread. Fresh herbs like rosemary, thyme, and parsley add a fragrant, earthy note that pairs beautifully with the garlic and the buttery dough.
These rolls are made with a simple enriched dough: flour, yeast, milk, butter, sugar, and eggs. The dough is soft and easy to work with, and it rises into light, fluffy rolls with a tender texture. You do not need a stand mixer, though one makes the kneading easier. A little patience during the rise is all it takes, and the result is far better than any store-bought roll.
Dinner rolls are a natural fit for holidays, Sunday dinners, and any meal where you want a warm, homemade bread on the table. They pair with soups, roasts, stews, and salads, and they are perfect for soaking up gravy or butter. They can be made ahead and reheated, and they freeze well, so you can bake a batch when you have time and have fresh rolls ready whenever you need them.
Why You’ll Love This Recipe
You will love this recipe because it produces soft, fluffy, golden dinner rolls with sweet roasted garlic and fresh herbs in every bite. They are easy to make with simple ingredients, they smell wonderful while baking, and they pair with everything from soup to roast turkey. They are perfect for holidays, Sunday dinners, and any meal that deserves warm, homemade bread.
Ingredients
For the roasted garlic:
- 1 whole head garlic
- 1 teaspoon olive oil
- 1/4 teaspoon fine sea salt
For the dough:
- 1 cup whole milk, warmed to about 110 degrees F
- 2 1/4 teaspoons active dry yeast, 1 packet
- 2 tablespoons granulated sugar
- 1 large egg, at room temperature
- 4 tablespoons unsalted butter, melted and slightly cooled
- 3 1/2 cups all-purpose flour, plus more for kneading
- 1 1/2 teaspoons fine sea salt
- 1 tablespoon chopped fresh rosemary
- 1 tablespoon chopped fresh thyme leaves
- 1 tablespoon chopped fresh flat-leaf parsley
For the topping:
- 3 tablespoons unsalted butter, melted
- 1 tablespoon chopped fresh parsley
- 1/2 teaspoon flaky sea salt
- 1 clove roasted garlic, mashed, optional, from the roasted head
Instructions
- 1. Roast the garlic. Preheat the oven to 400 degrees F (200 degrees C). Cut the top quarter inch off the head of garlic to expose the cloves. Place the garlic on a square of aluminum foil, drizzle with the olive oil, and sprinkle with salt. Wrap the garlic tightly in the foil and place it on a small baking sheet. Roast for 35 to 40 minutes, until the cloves are very soft, golden, and fragrant. Let the garlic cool for 10 minutes, then squeeze the soft cloves out of their skins into a small bowl. Mash them into a smooth paste with a fork. You should have about 2 tablespoons of roasted garlic paste.
- 2. Activate the yeast. While the garlic cools, warm the milk to about 110 degrees F. It should feel warm to the touch, like warm bath water, not hot. Pour the milk into a large mixing bowl or the bowl of a stand mixer. Stir in the sugar and sprinkle the yeast over the top. Let the mixture sit for 5 to 10 minutes until it becomes foamy and bubbly. If the yeast does not foam, it may be expired or the milk may have been too hot or too cold. Start over with fresh yeast and milk at the right temperature.
- 3. Mix the dough. Add the egg, melted butter, and the roasted garlic paste to the yeast mixture. Stir well to combine. Add 3 cups of flour, the salt, rosemary, thyme, and parsley. Stir with a wooden spoon or mix on low speed with a dough hook until a shaggy dough forms. Add the remaining 1/2 cup of flour a little at a time until the dough comes together and pulls away from the sides of the bowl. The dough should be soft and slightly sticky, not dry or stiff.
- 4. Knead the dough. Turn the dough out onto a lightly floured surface and knead for 8 to 10 minutes, until it is smooth, elastic, and springs back when pressed with a finger. If you are using a stand mixer, knead with the dough hook on medium-low speed for 6 to 8 minutes. Add a little more flour only if the dough is too sticky to handle. The dough should be soft and supple, not dry.
- 5. Let the dough rise. Lightly oil a large bowl and place the dough inside, turning it once to coat the top with oil. Cover the bowl with a clean kitchen towel or plastic wrap. Let the dough rise in a warm, draft-free place for 1 to 1 1/2 hours, until it has doubled in size. A warm oven with the light on, or a sunny spot on the counter, works well. The exact time will depend on the temperature of your kitchen.
- 6. Shape the rolls. Punch the dough down gently to release the air. Turn it out onto a lightly floured surface and divide it into 12 equal pieces. A kitchen scale helps here, with each piece weighing about 2 1/2 ounces. Shape each piece into a smooth ball by tucking the edges underneath and rolling it gently on the counter with a cupped hand. Place the rolls in a buttered 9 by 13 inch baking dish or a 9 inch round cake pan, leaving a little space between them. They will expand as they rise and bake, and they should touch lightly when finished.
- 7. Let the rolls rise again. Cover the dish loosely with a clean kitchen towel or plastic wrap. Let the rolls rise in a warm place for 30 to 45 minutes, until they are puffy and have nearly doubled in size. They should look soft and full, and they should spring back slowly when pressed gently with a finger. While the rolls rise, preheat the oven to 375 degrees F (190 degrees C).
- 8. Bake the rolls. Brush the tops of the rolls lightly with a little of the melted butter. Bake for 20 to 25 minutes, until the tops are golden brown and the rolls sound hollow when tapped. An instant-read thermometer inserted into the center of a roll should read 190 to 200 degrees F. If the tops brown too quickly, cover the dish loosely with aluminum foil for the last few minutes.
- 9. Brush with herb butter and serve. As soon as the rolls come out of the oven, brush them generously with the remaining melted butter mixed with the chopped parsley, flaky salt, and mashed roasted garlic if using. The butter will soak into the hot rolls and give them a glossy, flavorful finish. Let the rolls cool for 5 to 10 minutes in the pan, then serve warm. Pull them apart at the table and serve with extra butter if you like.
Tips and Variations
Use milk that is warm, not hot, for the yeast. Milk above 120 degrees F can kill the yeast, while milk that is too cool will slow the rise. Let the dough rise in a warm, draft-free place, and give it enough time to double in size. Do not rush the rise or the rolls will be dense. Knead the dough until it is smooth and elastic, and add flour only a little at a time so the dough stays soft. For extra garlic flavor, add an extra head of roasted garlic to the dough, or brush the baked rolls with garlic butter. Swap the herbs for fresh dill, chives, or sage, or add 1/2 cup of shredded Parmesan cheese to the dough for cheesy herb rolls. For a sweeter roll, leave out the herbs and add an extra tablespoon of sugar and a teaspoon of cinnamon. These rolls can be shaped the night before, covered tightly, and refrigerated overnight. Let them come to room temperature and rise for 45 to 60 minutes before baking. If you do not have fresh herbs, use 1 teaspoon of dried rosemary and 1 teaspoon of dried thyme, though fresh herbs give a much better flavor.
Serving Suggestions
Serve these rolls warm as a side dish with roast turkey, baked ham, roast chicken, beef stew, pot roast, or a hearty soup like tomato, butternut squash, or chicken noodle. They are perfect for soaking up gravy, butter, and soup, and they make a wonderful addition to a holiday table. Serve them in the baking dish or on a platter lined with a clean kitchen towel to keep them warm. For a casual meal, split a roll and use it for a small sandwich with leftover turkey, ham, or roast beef. A basket of warm rolls with a dish of softened butter is a simple, welcoming start to any dinner.
Storage and Make-Ahead
Store leftover rolls in an airtight container or a sealed plastic bag at room temperature for up to 3 days. Reheat them in a 300 degree F oven for 8 to 10 minutes, or in the microwave for 15 to 20 seconds, until warm and soft. Brush them with a little melted butter after reheating to restore their shine. To freeze, let the rolls cool completely, then place them in a freezer-safe bag or container for up to 3 months. Thaw at room temperature for 1 to 2 hours, then reheat in the oven. You can also freeze the unbaked shaped rolls. Place them on a baking sheet and freeze until firm, then transfer to a freezer bag. Thaw overnight in the refrigerator, let them rise for 45 to 60 minutes, and bake as directed. The roasted garlic can be made up to 3 days ahead and stored in the refrigerator.
Nutrition Notes
These rolls are made from flour, milk, butter, eggs, and yeast, so they provide carbohydrates for energy along with small amounts of protein, calcium, and B vitamins. Butter and milk add richness and saturated fat, so the rolls are more indulgent than plain bread. Roasted garlic and fresh herbs add flavor and small amounts of vitamins and plant compounds with very few calories. As a bread side dish, a single roll is a reasonable portion alongside a protein and vegetables. Choosing whole wheat flour for half of the flour will add fiber, though the rolls will be slightly denser. Enjoying these rolls as part of a balanced meal, rather than on their own, keeps them in good company nutritionally.
Frequently Asked Questions
Can I use instant yeast instead of active dry yeast? Yes. You can use the same amount of instant yeast, and you can skip the proofing step and mix it directly into the flour. The rise times may be slightly shorter, so watch the dough rather than the clock.
Can I make these rolls without a stand mixer? Yes. The dough is soft and easy to knead by hand. Mix it with a wooden spoon until it comes together, then knead it on a lightly floured surface for 8 to 10 minutes until smooth and elastic.
Why did my rolls turn out dense? Dense rolls usually come from too much flour, not enough rising time, or yeast that was not active. Measure the flour carefully, let the dough rise until it has truly doubled, and make sure your yeast foams in the warm milk before you start.