
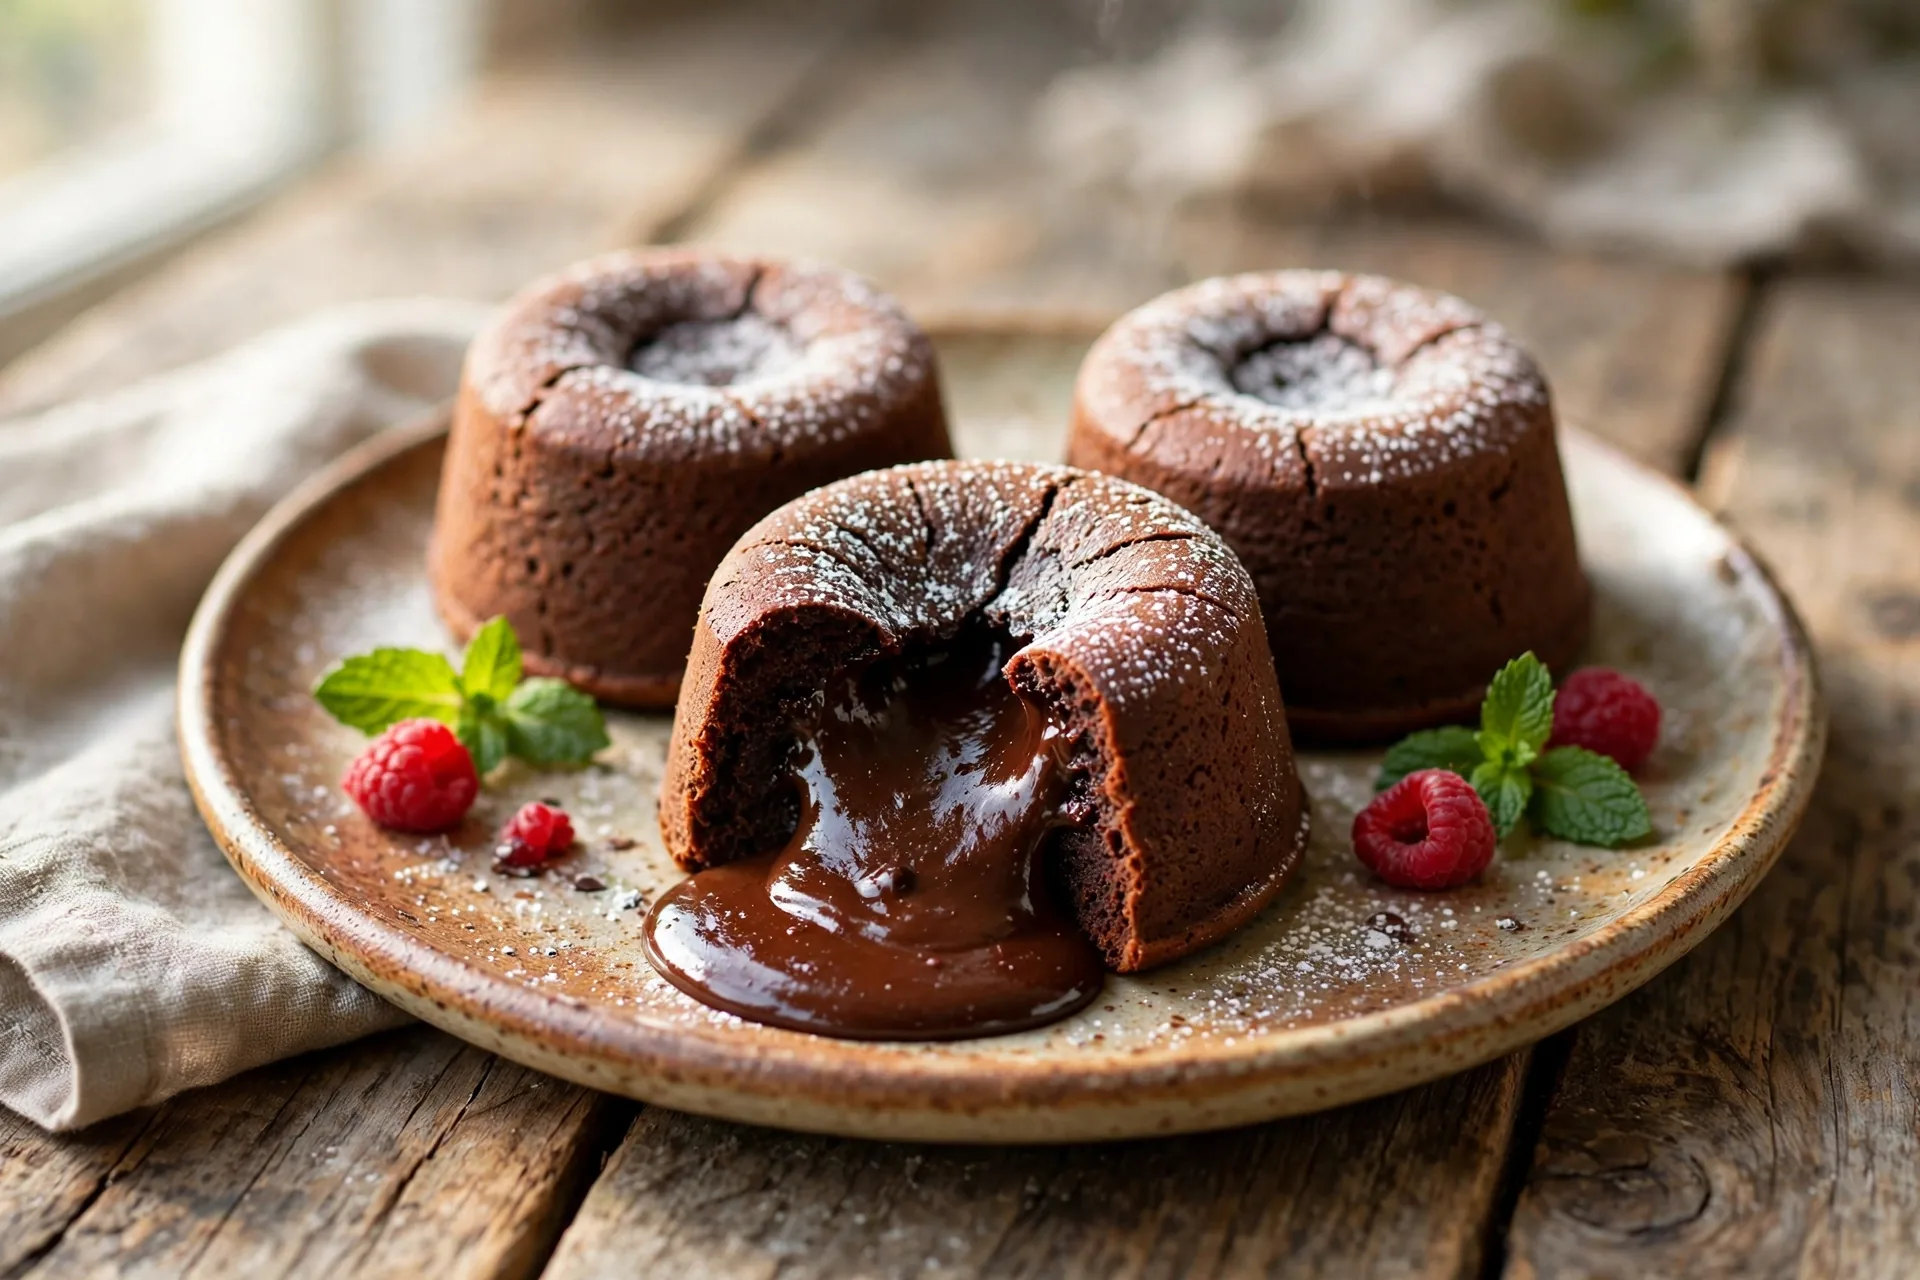
Few desserts inspire as much delight as a chocolate lava cake, and it is easy to understand why. You cut into a small, elegant individual cake, and a river of warm, molten chocolate flows out onto the plate, pooling around the cake like a sauce that made itself. It feels like magic, and yet the recipe is surprisingly simple. There is no layering, no frosting, and no decorating to worry about. The entire dessert comes together in one bowl, bakes in about twelve minutes, and delivers the kind of rich, dramatic moment that makes a dinner party feel special. It is the dessert that restaurants charge a premium for, and you can make it at home with a handful of pantry staples and a set of ramekins.
The secret to a great lava cake is balance. The outside needs to be fully baked and sturdy enough to hold its shape when you turn it out of the ramekin, while the center stays soft and liquid. That contrast is what makes the dessert work, and it depends on two things: good chocolate and careful timing. Use a dark chocolate with at least 60 percent cocoa content for a deep, complex flavor that is not too sweet, and watch the cakes closely in the oven, because the difference between a perfect molten center and a fully baked chocolate muffin can be as little as sixty seconds. Once you have made these cakes a few times, you will learn exactly how your oven behaves, and the timing will become second nature. They are ideal for Valentine’s Day, anniversaries, holiday dinners, or any evening when you want a dessert that feels indulgent without requiring hours in the kitchen.
Why You’ll Love This Recipe
These chocolate lava cakes are fast, foolproof, and endlessly impressive. The batter comes together in about fifteen minutes with one bowl and a whisk, and the cakes bake in twelve minutes, so you can go from craving to dessert in under half an hour. The recipe makes four individual servings, which is perfect for a small dinner party or a family treat, and it doubles easily if you need more. Because the cakes are baked in individual ramekins, everyone gets their own perfect portion with their own molten center. They also work beautifully as a make-ahead dessert, since the filled ramekins can be refrigerated and baked just before serving.
Ingredients
- 6 ounces (170 grams) good-quality dark chocolate, 60 to 70 percent cocoa, chopped
- 1/2 cup (113 grams) unsalted butter, plus more for greasing the ramekins
- 2 large eggs, at room temperature
- 2 large egg yolks, at room temperature
- 1/4 cup (50 grams) granulated sugar
- 2 tablespoons light brown sugar, packed
- 1 teaspoon vanilla extract
- 1/4 teaspoon fine sea salt
- 1/4 cup (30 grams) all-purpose flour, sifted
- 2 tablespoons unsweetened cocoa powder, plus more for dusting the ramekins
- Powdered sugar, for dusting
- Vanilla ice cream, whipped cream, or fresh berries, for serving
Instructions
- 1. Prepare the ramekins. Preheat the oven to 425 degrees Fahrenheit (220 degrees Celsius). Generously butter four 6-ounce ramekins, making sure to coat the bottoms and sides completely. Dust each ramekin with cocoa powder, tapping out the excess. This coating is what allows the cakes to release cleanly from the ramekins, so do not skip it. Place the prepared ramekins on a baking sheet and set aside.
- 2. Melt the chocolate and butter. Place the chopped chocolate and butter in a medium heatproof bowl set over a saucepan of barely simmering water, making sure the bottom of the bowl does not touch the water. Stir occasionally until the chocolate and butter are completely melted and smooth, about 3 to 4 minutes. Alternatively, microwave the mixture in 30-second bursts, stirring between each, until smooth. Remove from the heat and let it cool for 5 minutes so it does not scramble the eggs.
- 3. Whisk the eggs and sugar. In a separate large bowl, whisk together the whole eggs, egg yolks, granulated sugar, and brown sugar until the mixture is pale, thick, and slightly frothy, about 2 to 3 minutes of vigorous whisking. Stir in the vanilla extract and salt. The sugar needs to dissolve into the eggs to give the cakes their delicate structure and a shiny, tender crumb.
- 4. Combine the mixtures. Pour the slightly cooled chocolate mixture into the egg mixture in a slow stream, whisking constantly so the two blend smoothly without cooking the eggs. Sift the flour and cocoa powder over the top and fold gently with a rubber spatula until no dry streaks remain. Do not overmix, because overmixing can make the cakes tough and reduce the molten center.
- 5. Fill and bake. Divide the batter evenly among the prepared ramekins, filling each about three-quarters full. Place the baking sheet in the preheated oven and bake for 11 to 13 minutes. The edges of the cakes should look set and slightly puffed, the tops should look dry, and the centers should still jiggle very slightly when you gently shake the baking sheet. Start checking at 11 minutes, because ovens vary and a minute too long will set the centers.
- 6. Rest and unmold. Remove the baking sheet from the oven and let the cakes rest in their ramekins for exactly 1 minute. This brief rest lets the edges firm up just enough to hold their shape. Run a thin knife around the edge of each cake, place a dessert plate upside down over the ramekin, and invert the two together in one confident motion. Lift off the ramekin slowly. If a cake sticks slightly, give the ramekin a gentle tap and it should release.
- 7. Serve immediately. Dust the tops lightly with powdered sugar and serve right away, while the centers are still molten. Add a scoop of vanilla ice cream, a dollop of whipped cream, or a handful of fresh raspberries alongside each cake. The contrast of cold ice cream against the warm, flowing chocolate is one of the best parts of this dessert.
Tips and Variations
The most important tip is to know your oven. If your lava cakes come out fully baked with no molten center, reduce the baking time by one minute next time. If they collapse when unmolded, add a minute. Room-temperature eggs whip up better and incorporate more smoothly into the chocolate, so take them out of the refrigerator thirty minutes before you start. For a flavor twist, add a pinch of espresso powder to the batter to deepen the chocolate flavor, a tablespoon of orange liqueur for a citrus note, or a pinch of cayenne pepper for a subtle warmth. You can also place a small square of chocolate or a spoonful of peanut butter in the center of each ramekin before baking for an extra burst of flavor. To make the cakes ahead, fill the ramekins, cover them tightly, and refrigerate for up to 24 hours. Add one to two minutes to the baking time when baking from cold.
Serving Suggestions
Serve each lava cake on its own small dessert plate, dusted with powdered sugar and accompanied by a scoop of vanilla bean ice cream. Fresh raspberries or strawberries add color and a bright, tart contrast that cuts through the richness of the chocolate. A drizzle of salted caramel sauce or raspberry sauce around the plate makes the presentation look like it came from a restaurant. For a dinner party, serve the cakes with small cups of espresso or a glass of dessert wine. Keep the accompaniments simple, because the molten chocolate is the star and does not need much competition.
Storage and Make-Ahead
Chocolate lava cakes are best served fresh from the oven, when the centers are molten and the edges are warm. However, the unbaked batter can be prepared ahead. Fill the greased and cocoa-dusted ramekins, cover them tightly with plastic wrap, and refrigerate for up to 24 hours. Bake straight from the refrigerator, adding one to two minutes to the baking time. Baked leftovers can be stored in an airtight container in the refrigerator for up to 2 days, though the centers will set as they cool. Reheat a leftover cake in the microwave for 15 to 20 seconds to soften the center again, or warm it in a 350 degree Fahrenheit oven for 5 minutes.
Nutrition Notes
These cakes are rich in dark chocolate, which provides cocoa flavanols and a small amount of iron and magnesium, along with the energy of butter, sugar, and eggs. Dark chocolate with a higher cocoa percentage has a more intense flavor and less added sugar than milk chocolate, which is why it works so well here. The portion size is deliberately small, so each cake delivers a satisfying amount of richness without being overwhelming. Eggs contribute protein, and the recipe uses a modest amount of flour, keeping the texture light. Enjoy this dessert as an occasional treat, and pair it with fresh berries to add fiber and natural sweetness to the plate.
Frequently Asked Questions
Can I make lava cakes without ramekins? Yes, you can use a standard muffin tin instead. Butter and dust six muffin cups with cocoa powder, fill them about three-quarters full, and bake for 8 to 10 minutes. The cakes will be slightly smaller, so watch them closely. Let them rest for 1 minute, then gently lift them out with a spoon or run a knife around the edges before inverting.
Why did my lava cakes not have a molten center? The most common reason is overbaking. Even one extra minute can set the center completely. Start checking at 11 minutes and look for edges that are set while the center still jiggles slightly. Every oven runs a little differently, so note the exact time that works in yours and use it every time. Baking from room-temperature batter also helps.
Can I freeze lava cake batter? Yes, the filled ramekins can be frozen for up to 1 month. Wrap each ramekin tightly in plastic wrap and then aluminum foil. Bake straight from frozen, adding 4 to 5 minutes to the baking time. This is a wonderful way to have a special dessert ready whenever you need one.