
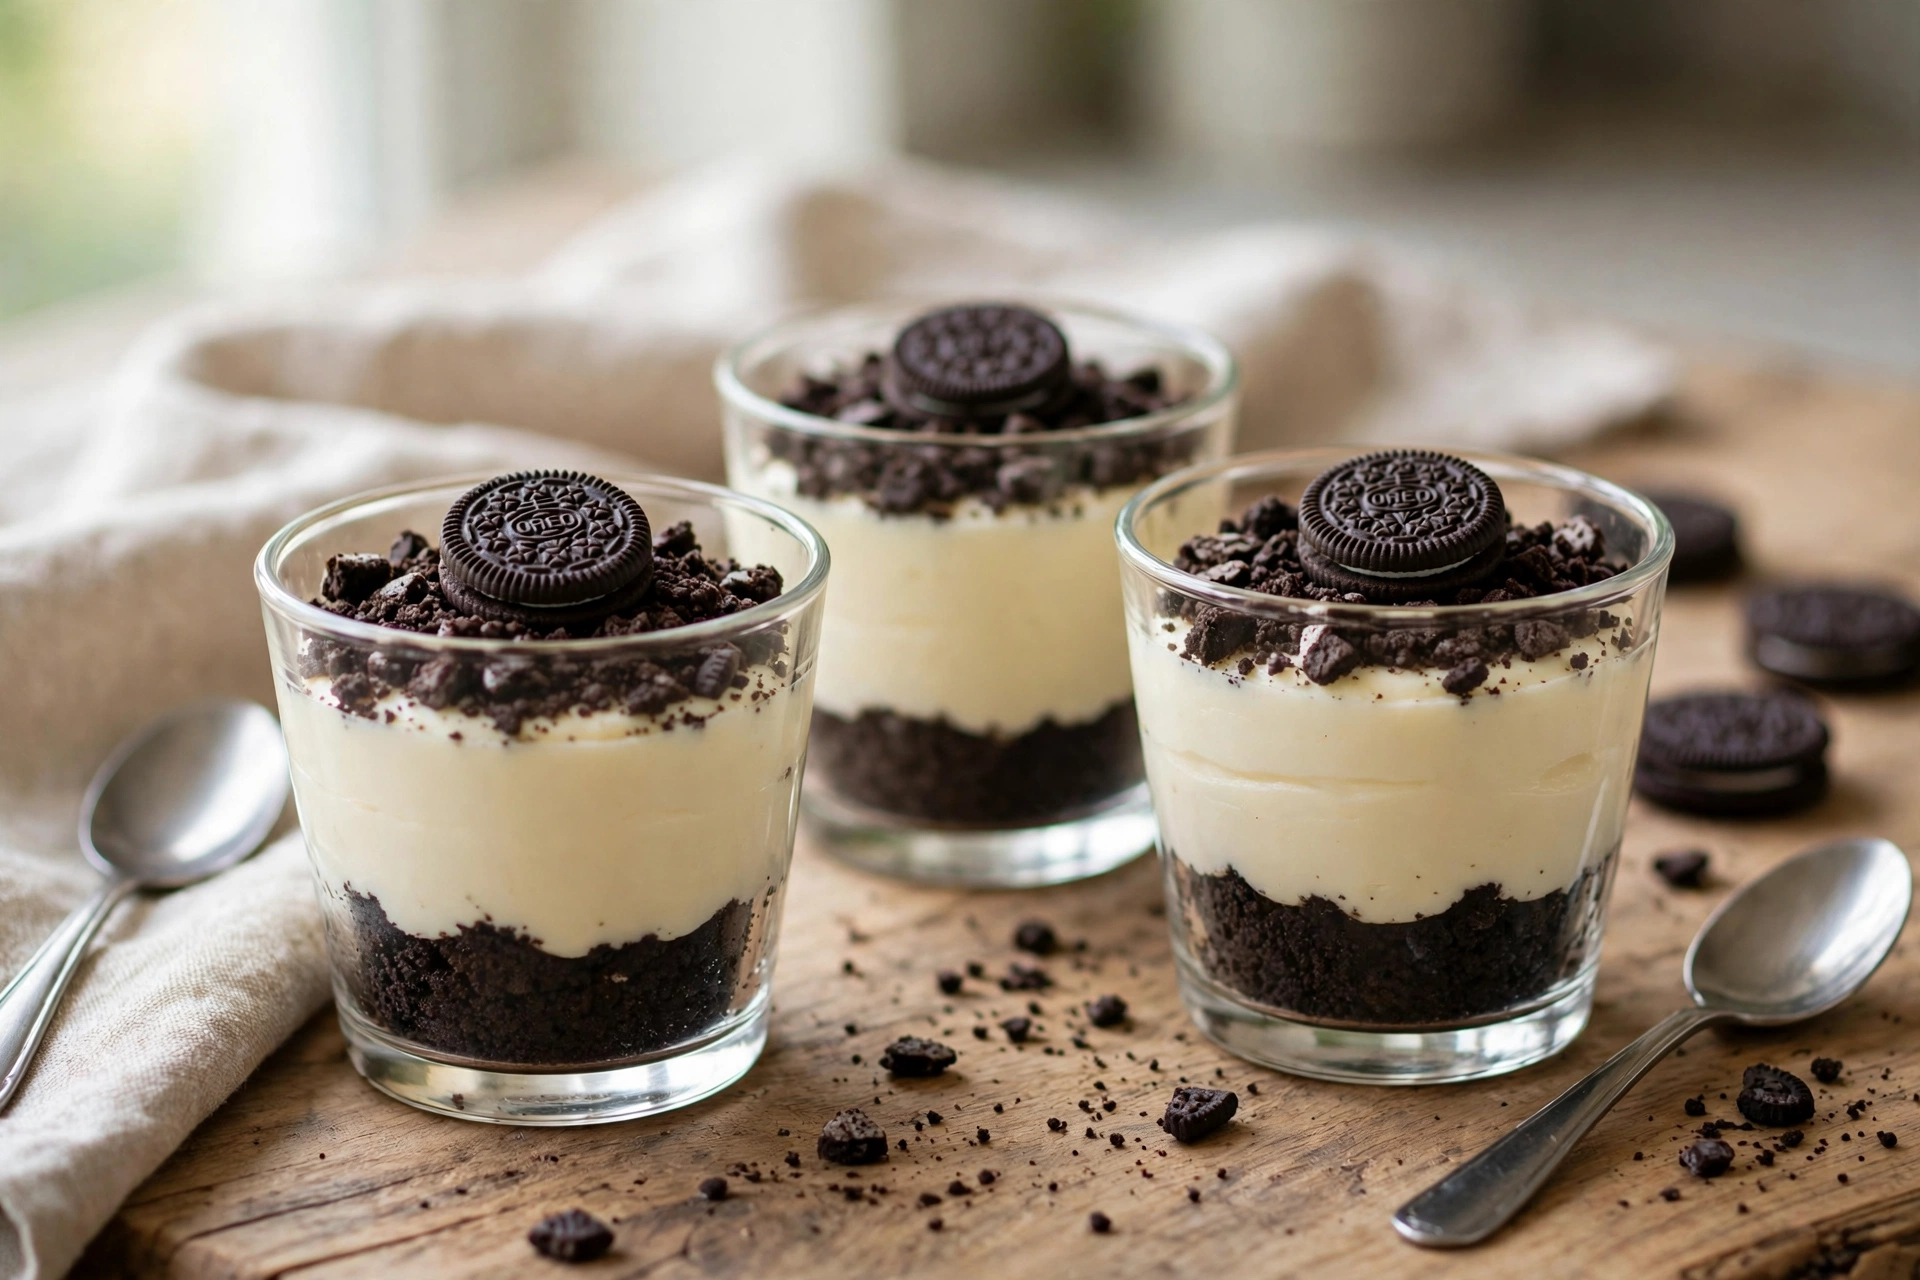
There are desserts that ask you to preheat the oven, watch a timer, and hope for the best, and then there are desserts that quietly set themselves in the fridge while you get on with your day. These No-Bake Oreo Cheesecake Cups are firmly in the second group. Crushed Oreo crumbs pressed into a buttery base, a cloud-light cream cheese filling, and a shower of cookie crumbs on top, all layered into individual cups that are ready to spoon straight from the fridge. Every spoonful is cool, creamy, and unmistakably Oreo, the kind of dessert that makes an ordinary evening feel like a small celebration.
What makes these cups so special is how little they ask of you. No oven, no gelatin, no water bath, and no waiting for a cheesecake to cool without cracking. The filling comes together in one bowl, the cups chill for a couple of hours, and the hardest part is waiting for them to set. The layers stay neat and pretty in the glass, so they look like something from a cafe, even though the whole thing takes about fifteen minutes of hands-on time.
Why You’ll Love This Recipe
This is one of those recipes you will return to again and again, for good reason.
- No oven, no fuss: Nothing to bake and nothing to watch. Mix, layer, chill, and serve.
- Perfect little portions: Individual cups mean no slicing, no serving stress, and everyone gets their own.
- Cool, creamy, and crunchy: A buttery Oreo crumb base, a smooth vanilla cream cheese filling, and a crunchy cookie topping in every spoonful.
- Ready in minutes, then the fridge does the work: Fifteen minutes of hands-on time, then two hours of chilling while you do something else.
- Simple, everyday ingredients: Oreo cookies, cream cheese, and whipped cream are easy to find, with nothing fussy or hard to source.
Ingredients
Gather these ingredients before you begin. The quantities below make 6 cups generously.
For the Crumb Base
- 24 Oreo cookies (about 2 cups crumbs), filling included
- 4 tablespoons unsalted butter, melted
For the Cheesecake Filling
- 16 oz (two 8-oz blocks) full-fat cream cheese, softened to room temperature
- 1/2 cup powdered sugar
- 1 teaspoon vanilla extract
- 1 1/2 cups heavy whipping cream, whipped to stiff peaks (or one 8-ounce tub of whipped topping)
For the Topping
- 6 Oreo cookies, crushed, for sprinkling
- 6 mini Oreo cookies, for garnish (optional)
Instructions
Follow these six steps for cups that are creamy, crunchy, and neatly layered.
- Make the crumb base. Put the 24 Oreo cookies in a food processor and pulse until they become fine crumbs, or seal them in a bag and crush them with a rolling pin. Tip the crumbs into a bowl, pour over the melted butter, and stir until every crumb is damp and the mixture holds together when pressed. The crumbs should look like wet sand; if they seem dry, add another teaspoon of melted butter. Do not remove the cookie filling; it helps the base hold together and adds sweetness.
- Press the base into the cups. Divide the crumb mixture evenly between 6 small glasses or dessert cups, about 3 tablespoons per cup. Press it down firmly with the back of a spoon or the bottom of a small glass, so it forms a flat, even layer. A firmly pressed base is what keeps the cups neat when you spoon into them, so take a moment to get it level. Pop the cups in the fridge while you make the filling.
- Beat the cream cheese filling. In a large bowl, beat the softened cream cheese with the powdered sugar and vanilla extract until completely smooth and creamy, scraping down the sides of the bowl once or twice. There should be no lumps at all; lumps now will stay lumps in the finished cups. The cream cheese must be truly at room temperature, or it will never beat smooth, so set it out at least 30 minutes before you start.
- Fold in the whipped cream. Add the whipped cream to the cream cheese mixture in two parts, folding gently with a spatula until just combined and no streaks remain. Fold, do not stir hard or beat, or the filling will lose its lightness and turn dense. The finished filling should be thick, smooth, and pillowy, holding soft peaks when you lift the spatula.
- Layer the cups. Spoon or pipe the filling over the chilled crumb bases, dividing it evenly between the 6 cups. Smooth the tops with the back of a spoon. Sprinkle the crushed Oreo cookies generously over each cup, then place a mini Oreo on top of each one if you are using them. Cover the cups loosely with plastic wrap and chill in the fridge for at least 2 hours, or overnight, until the filling is set and holds its shape.
- Serve cold, with a spoon. Serve the cups straight from the fridge, while the filling is cool and firm and the base is crisp. Hand each person a spoon and let them dig straight down through the topping, the creamy filling, and the buttery base, so every spoonful gets a little of everything.
Tips for the Best No-Bake Oreo Cheesecake Cups
A few small details make all the difference between good cups and truly memorable ones.
- Soften the cream cheese properly: Cold cream cheese beats lumpy, and lumps never disappear. Leave the blocks out for at least 30 minutes, until they give easily when pressed.
- Fold, don’t stir: The whipped cream is what makes the filling light. Fold it in gently and stop as soon as the streaks disappear, or the cups will set dense instead of fluffy.
- Press the base firmly: A loosely pressed base crumbles when you spoon into it. Press it down hard with a spoon or small glass so it sets into a solid layer.
- Chill for the full two hours: The cups need the full chill to set properly. If you serve them too soon, the filling will be soft and the layers will slide.
- Crush the topping just before serving: The topping crumbs stay crunchiest when they go on near the end. If you are chilling overnight, keep the topping separate and sprinkle it on just before serving.
Serving Suggestions
These cups are a complete dessert on their own, but they are even better with a little something alongside.
- A drizzle of chocolate sauce or warm fudge, for an extra-rich finish.
- Fresh berries, for a bright, tart contrast to the sweet cream cheese.
- A small glass of cold milk or a cup of coffee, to go with the cookies-and-cream flavour.
Storage and Reheating
Store leftover cups covered in the refrigerator for up to 3 days; the filling stays creamy and the flavour deepens slightly overnight. The crumb base softens a little after the first day, so they are at their best within 24 hours. Do not freeze these cups, as the filling turns grainy when thawed. If you are making them ahead, chill the filled cups without the topping, and add the crushed cookies and mini Oreo just before serving so the topping stays crisp.
Whether you are cooking for a family dinner, a summer gathering, or simply craving something cool, creamy, and chocolatey, these No-Bake Oreo Cheesecake Cups are a recipe to keep close. Crush the cookies well, fold the cream in gently, chill them properly, and enjoy every cool, crunchy spoonful.