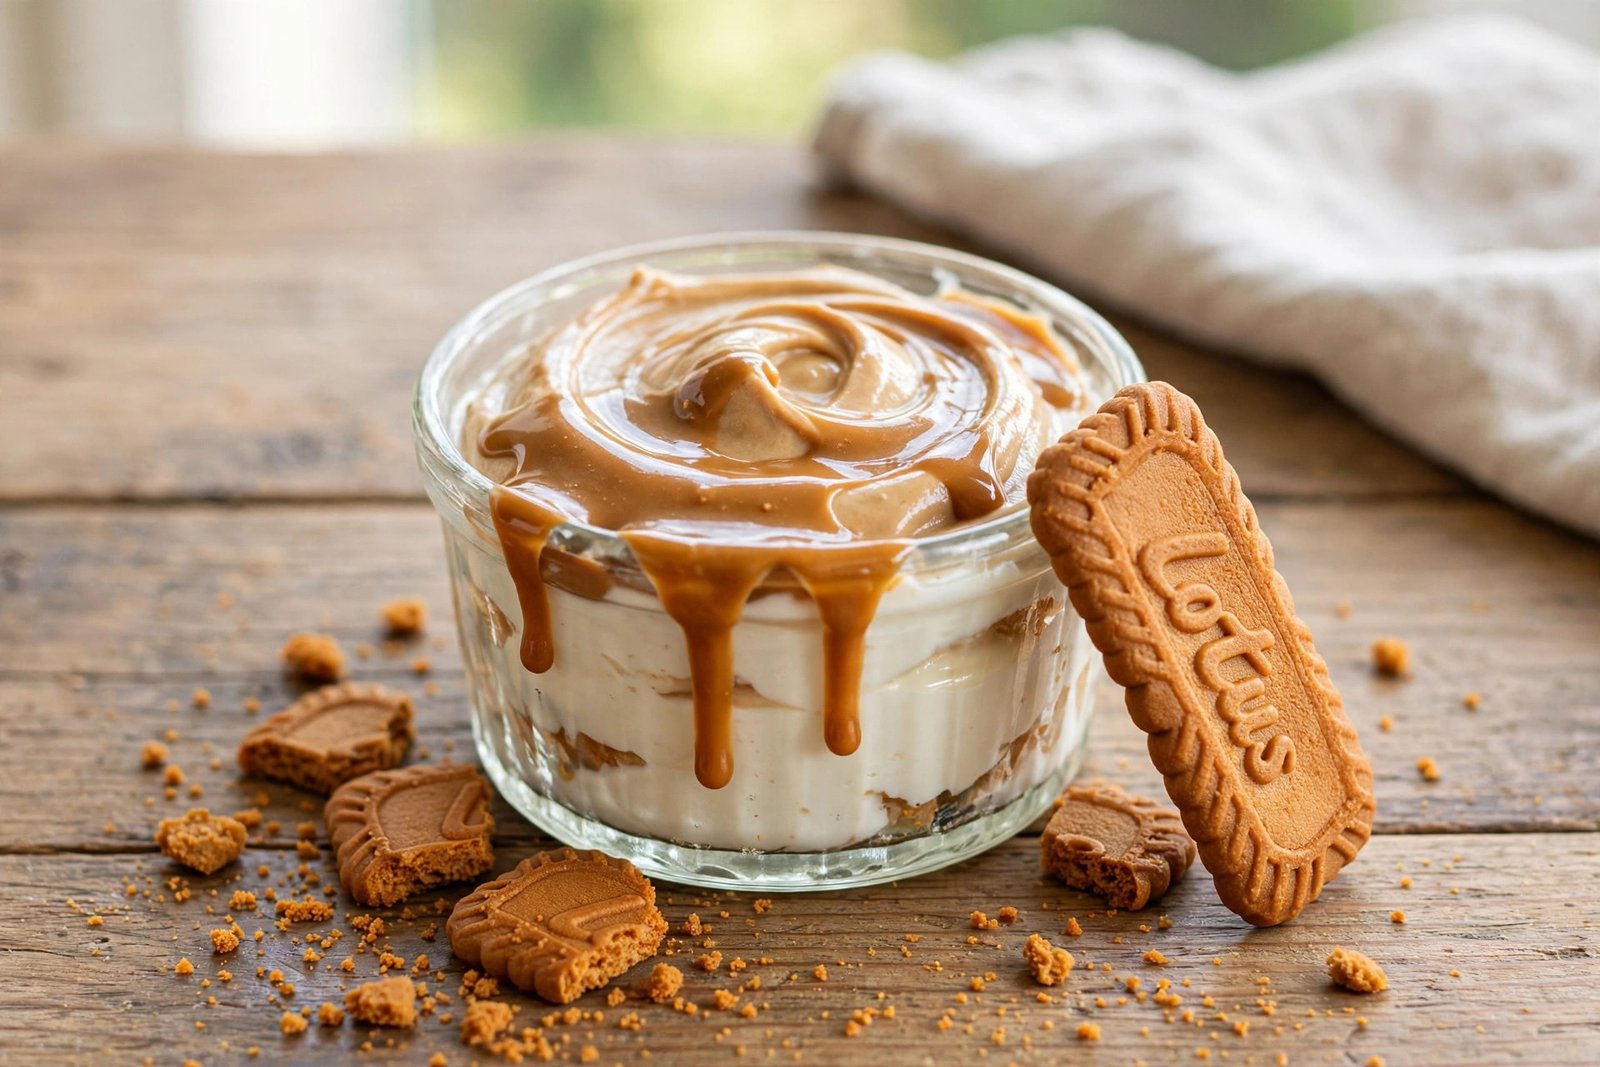
If your For You page has been nothing but jars, ramekins, and spoons sinking into impossibly creamy layers lately, you already know about the dessert breaking TikTok and Facebook food feeds: No-Bake Biscoff Yogurt Cheesecake. This individual, no-oven treat takes the caramelized, spiced flavor of Lotus Biscoff biscuits and pairs it with a silky Greek yogurt and cream cheese filling that sets firm in the fridge — no gelatin, no baking, no water bath, no fuss.
The result is a five-ingredient mini cheesecake with a buttery biscuit crust, a tangy-sweet caramel-spiced filling, and a glossy Biscoff drizzle on top. It is light enough to justify as a high-protein snack yet indulgent enough to serve as a dinner-party dessert in little ramekins. It serves two generously — or one very happily — and takes about 20 minutes of hands-on time before the fridge does the rest.
Why You’ll Love This Biscoff Cheesecake
- Truly no-bake: No oven, no gelatin, no fancy equipment. If you can crush biscuits and whisk a bowl, you can make this.
- Viral for a reason: The caramelized cinnamon-spice flavor of Biscoff plus tangy Greek yogurt is an addictive combination that photographs and tastes amazing.
- Only 5 ingredients: Biscoff biscuits, butter, Greek yogurt, cream cheese, and Biscoff spread — plus a touch of honey and vanilla you probably already have.
- High-protein twist: The Greek yogurt base packs far more protein than a classic cheesecake filling, so it eats light while tasting rich.
- Perfect make-ahead dessert: It needs at least 2 hours of chilling, so it is ideal to prep in the morning and serve after dinner.
- Single-serve elegance: Set in individual ramekins, each serving looks like a restaurant dessert with zero effort.
Ingredients
For the Biscuit Base:
- 80g Lotus Biscoff biscuits (about 10 biscuits), crushed into fine crumbs
- 2 tablespoons unsalted butter, melted
For the Cheesecake Filling:
- 200g full-fat Greek yogurt (about 3/4 cup plus 1 tablespoon)
- 100g full-fat cream cheese, softened at room temperature
- 2 tablespoons smooth Biscoff spread, melted slightly
- 1 to 2 tablespoons honey or maple syrup, to taste
- 1/2 teaspoon pure vanilla extract
For the Topping:
- 1 tablespoon Biscoff spread, melted, for drizzling
- 1 Biscoff biscuit, crushed, for sprinkling
Instructions
- Crush the biscuits: Place the 80g of Biscoff biscuits in a zip-top bag and bash with a rolling pin until you have fine crumbs with a few small chunks for texture. Alternatively, pulse them in a food processor for 20–30 seconds.
- Make the base: Tip the crumbs into a bowl and pour over the 2 tablespoons of melted butter. Stir with a fork until every crumb is moistened and the mixture resembles wet sand.
- Press into ramekins: Divide the buttery crumbs evenly between two small ramekins or dessert glasses (about 150–200ml capacity each). Press down firmly with the back of a spoon to form a compact, even base. Refrigerate for 15 minutes while you make the filling.
- Soften the cream cheese: Make sure your cream cheese is at room temperature — this is essential for a lump-free filling. If you forgot to take it out, microwave it in 10-second bursts until soft but not melted.
- Whisk the filling: In a medium bowl, whisk the softened cream cheese until completely smooth. Add the 200g Greek yogurt, the 2 tablespoons of slightly melted Biscoff spread, 1 tablespoon of honey, and the vanilla extract. Whisk vigorously until silky and lump-free. Taste and add the second tablespoon of honey if you prefer it sweeter.
- Fill the ramekins: Spoon the filling over the chilled biscuit bases, dividing it evenly between the two ramekins. Smooth the tops with the back of a spoon or a small offset spatula.
- Chill to set: Cover each ramekin with cling film and refrigerate for at least 2 hours, or ideally overnight. The filling firms up as it chills thanks to the combination of thick Greek yogurt and cream cheese — no gelatin required.
- Add the topping: Just before serving, melt 1 tablespoon of Biscoff spread in the microwave for 10–15 seconds until pourable. Drizzle it over the top of each cheesecake and finish with a sprinkle of crushed Biscoff biscuit. Serve chilled.
Tips for the Best Biscoff Yogurt Cheesecake
- Use full-fat Greek yogurt. This is the single most important tip: low-fat or non-fat yogurt is too thin and watery, and the filling will not set properly. Full-fat Greek yogurt is thick enough to hold its shape after chilling.
- Room-temperature cream cheese is non-negotiable. Cold cream cheese will leave lumps no amount of whisking can fix. Give it 30–45 minutes on the counter before you start.
- Press the base firmly. A loosely packed crumb base will crumble when you spoon into it. Use the flat bottom of a small glass to compact it tightly into each ramekin.
- Chill overnight for the best texture. Two hours is the minimum, but an overnight chill gives a noticeably firmer, creamier set and deeper flavor.
- Melt the Biscoff spread gently. Ten to fifteen seconds in the microwave is plenty; overheating makes it seize or go oily. Stir it smooth before drizzling.
- Taste before you chill. The sweetness of honey and Biscoff varies by brand, so adjust the honey to your liking while the filling is still in the bowl.
Variations
- Chocolate Biscoff swirl: Melt 30g of dark chocolate and swirl it through the filling with the back of a skewer before chilling for a marbled effect.
- Biscoff banana: Layer thin slices of banana between the base and the filling for a banoffee-style twist.
- Peanut butter version: Swap the Biscoff spread for smooth peanut butter and use crushed digestive biscuits for the base — a completely different but equally viral flavor profile.
- Single large cheesecake: Double the recipe and set it in a 15cm (6-inch) springform tin lined with parchment. Chill for at least 6 hours or overnight, then slice to serve 6–8.
- Lighter version: Use light cream cheese and 0% Greek yogurt strained through cheesecloth for 30 minutes to thicken it. The set will be slightly softer but still sliceable after an overnight chill.
Storage & Reheating
Store the cheesecakes covered in the refrigerator for up to 3 days. Add the Biscoff drizzle and crumb topping just before serving so the drizzle stays glossy and the crumbs stay crisp. This dessert does not freeze well — the yogurt filling can turn grainy and weep when thawed, so it is best enjoyed fresh from the fridge. Reheating is not applicable here; this is a chilled dessert through and through. If the filling feels a little soft after slicing into it, simply pop it back in the fridge for 30 minutes to firm up again.
Frequently Asked Questions
Do I really not need gelatin for this cheesecake to set?
Correct — no gelatin needed. Full-fat Greek yogurt is naturally very thick, and combined with cream cheese it firms up beautifully after a few hours in the fridge. The key is using full-fat dairy and giving it enough chill time.
Can I use low-fat Greek yogurt?
It is not recommended. Low-fat and fat-free yogurts contain more water and whey, so the filling will stay soft and may never fully set. If you only have low-fat yogurt, strain it through a cheesecloth-lined sieve for 1–2 hours in the fridge to remove excess liquid before using.
How long does it need to chill?
A minimum of 2 hours, but overnight (8+ hours) gives the firmest, creamiest result. If you are making the larger springform version, allow at least 6 hours.
Can I make this dairy-free?
Yes. Use a thick coconut-based Greek-style yogurt and a dairy-free cream cheese alternative, and swap the butter for melted coconut oil. Lotus Biscoff biscuits are accidentally vegan, so the base needs no changes. The set will be slightly softer, so chill overnight.
Serve these little cheesecakes straight from the fridge with an extra Biscoff biscuit on the side for dunking, and watch them disappear. Whether you are chasing the viral trend or just want the easiest impressive dessert in your repertoire, this five-ingredient no-bake Biscoff yogurt cheesecake delivers every single time — creamy, caramel-spiced, and gone in minutes.